Mormor's quick & easy Danish pickled cucumber recipe
This is a recipe handed down to me by my Mormor (the Danish word for your Mother’s Mother/Grandma), and come summertime I make these jars of quick “Agurksalat” regularly. They also appear on our Christmas table too as pickled cucumbers work with so many dishes, especially cold meats, adding a freshness and astringent digestive element to dishes that can sometimes feel a little bit heavy.
I have loved pickled things for as long as I can remember, and we have just returned from our summer holiday in the Canary Islands where I quickly discovered that my choices from the buffet at our hotel really affirm my Scandinavian tastebuds! A particular favourite at breakfast (that I discovered far too late) when I became bored of all the stodge and pastries, was a couple of fried eggs topped with grated tomatoes (rather like a salsa), and capers! I just weirdly love all things pickled/salty/tangy, especially at breakfast which seems at odds with most of the sugar laden options available everywhere. Do you feel the same?
Sometimes a life filled with cake, scones, pies, and full english breakfast is too much. Summer just screams for lighter dishes, and many of the simplest ones like eggs (in my opinion) can be pepped up with a smattering of a pickled something. They work with everything, even my pregnancy craving was pickled jalapeños! Yep, straight from the jar with a fork…
![]()
I have also shared a recipe for pickled red onions that will be ready for you to snaffle within 24 hours (or just a few hours if you really can’t wait). Both are delicious on a summer hot dog, and go brilliantly with salads too if, like me, you have more of a fondness for the savoury/tangy rather than using sweetened dressings.
How to make Agurksalat, or Danish Pickled Cucumbers
Before we begin, we must talk about cucumbers. When shopping for them, you must make sure that they are as firm as possible, squishy cucumbers mean they are past their best, and from experience this recipe won’t work when using them. The acids/brine break down the structure of the cucumber making them softer/floppy, and cucumbers that are soft to start with will end up a mushy mess.
This recipe and the quantities advised below are to make one 500g jar of pickled cucumbers. Depending on the volume you would like to make, you may need to adjust the brine accordingly but honestly, it’s so easy and forgiving that it’s not hard to make a mistake. Just try to remember a 1:1 ratio for the vinegar/water and add as much (or as little) sugar as you like to taste. I use 1 tbsp for a 500g jar with 250ml/1 cup of liquid, so you may want to use that as your starting point.
Yield: One large English cucumber will fill a 500g jar (as demonstrated below in photos). Make as much or as little as you like.
Serves: N/A.
Storage: Will last for 3 months if kept unopened in an airtight container in a cool, dark place. Once opened, store in the fridge and consume within 1 month. However, due to the vinegar these will rarely “go bad” and could last indefinitely, but do use your common sense on timings. We are all responsible for our own health.
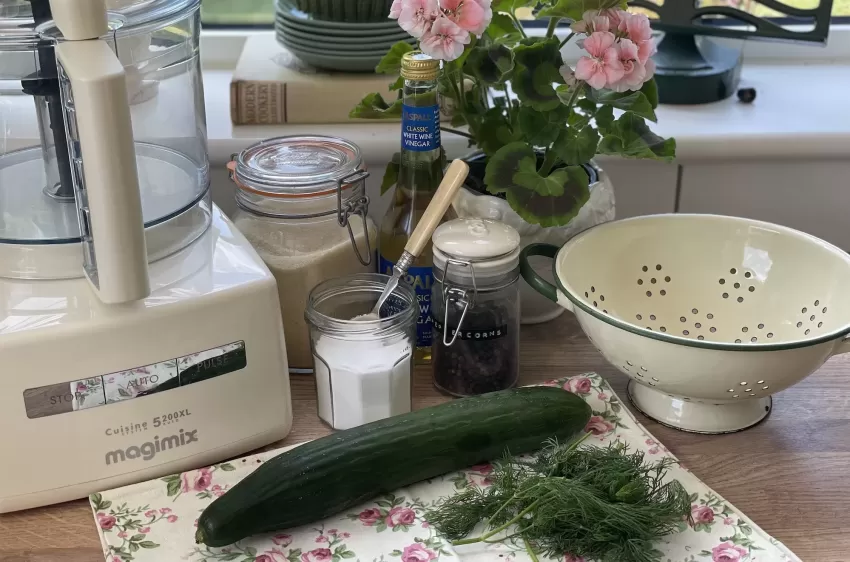
Pickled Cucumber (Agurksalat) ingredients:
- 1 x large, firm English Cucumber.
- 125ml (approx ½ cup) of White Wine Vinegar.
- 125ml (approx ½ cup) of cold Water.
- 1 tbsp Sugar.
- 2-3 tbsp fine Sea Salt (you may need more, so have plenty on hand).
- Small bunch of fresh Dill. (You can use dried at a push, but fresh is ideal).
- 1 tsp Whole Black Peppercorns.
Method for making Agurksalat or Danish Pickled Cucumbers
- Sterilise the jar. I like to wash them in hot soapy water and keep them filled with hot boiled water from the kettle until I am ready to fill. Take care not to burn yourself when you pour out the water!
- Wash, and then slice your cucumber(s) as thinly as possible. I like to use the slicing attachment on its smallest setting on my Magimix, but it is also possible to do this by hand or using a Mondoline as I have in the past. Just take your time.
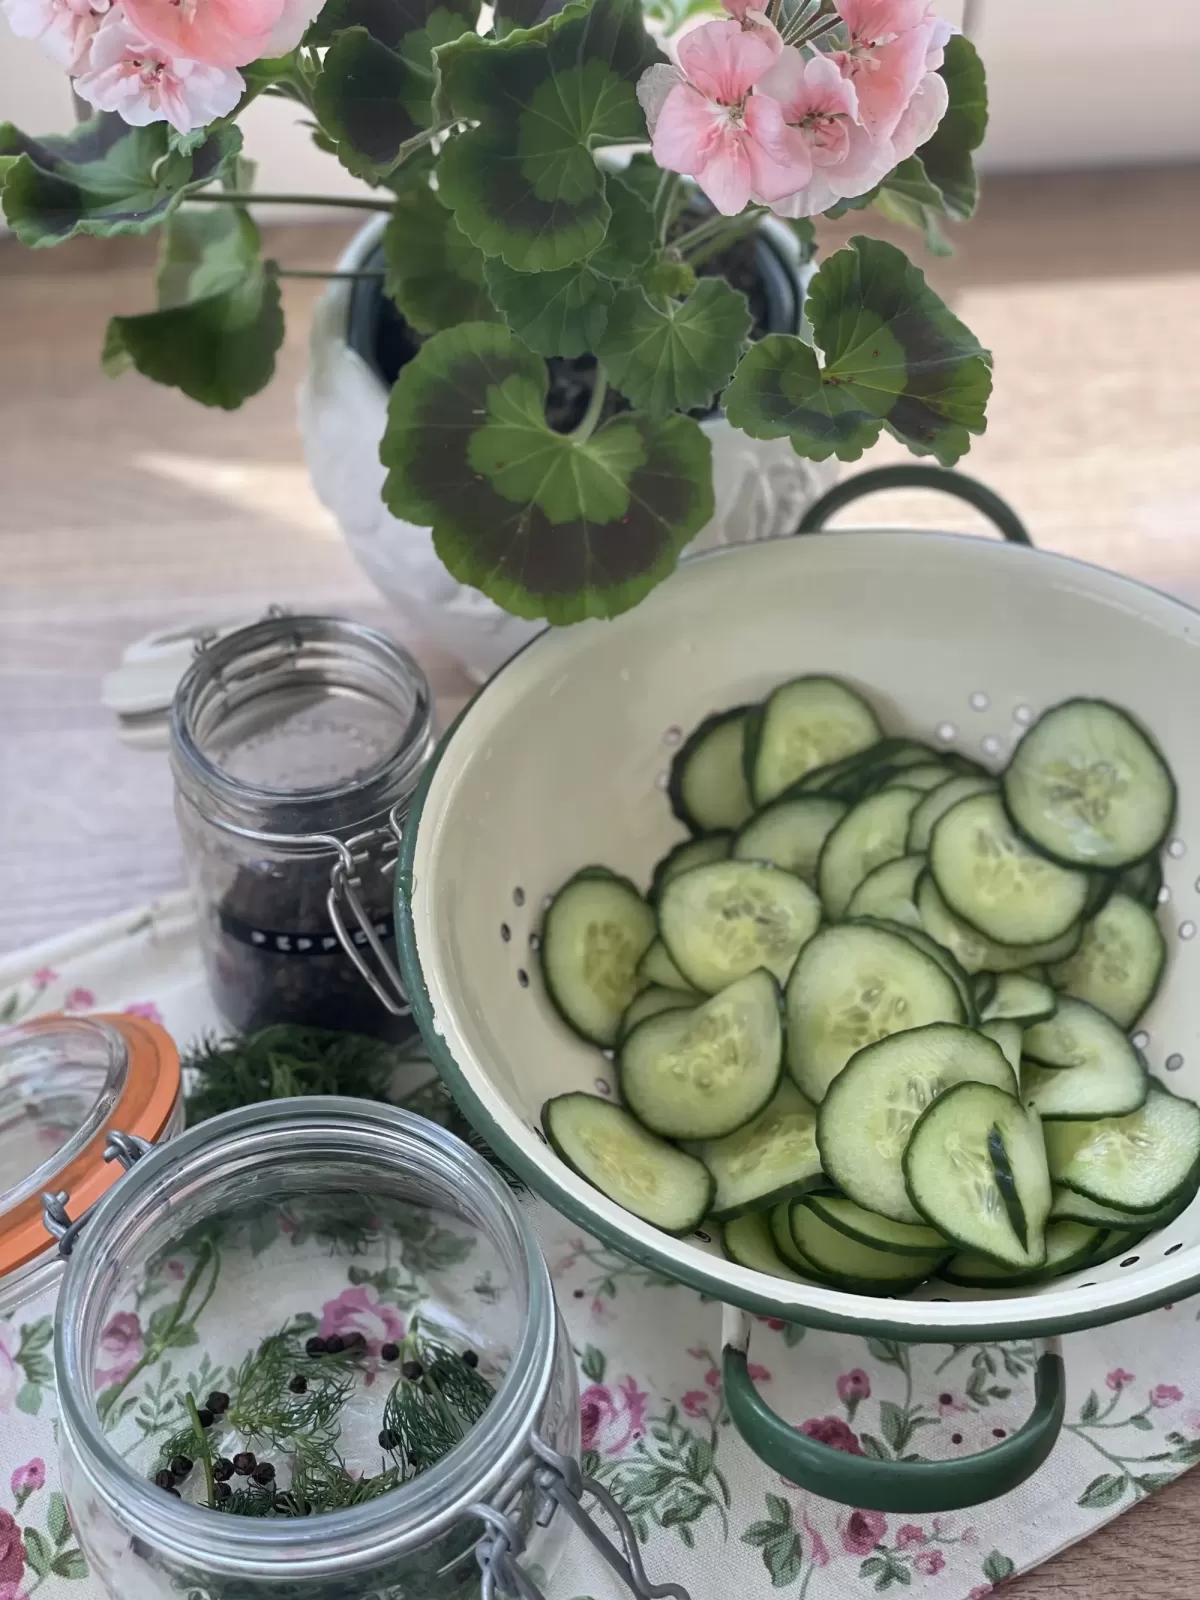
- Place the cucumber slices in a colander, and liberally sprinkle over some salt. Adding another layer over the top, and salting those too. Keep going until the cucumbers are all covered in salt.
- Cover the top of the colander with a cloth and place in the sink or on a draining board or large plate to catch the juices. Leave for one hour.
- Thoroughly rinse the cucumbers of the salt, and pat dry using kitchen paper, or leave the stand and drain for a few minutes.
- Make up your brine in a jug, first mixing the vinegar and sugar and stir until combined and the sugar has dissolved. You may need to wait a few minutes for the acid to dissolve the granules completely. Then add the water and stir again.
- Pop some dill and peppercorns into the bottom of the jar, adding a layer of cucumbers, and keep going until the cucumbers, dill and peppercorns are in the jar. Feel free to pack them down a little if needed.
- Pour the brine into the jar over the cucumbers until they are fully covered. Do not worry if you have some brine remaining as it make not all need to be used depending on how much cucumber already filled the jar.
- Seal, and leave for 24 hours - if you can manage to wait that long!
Et voila! That’s it, such an easy recipe requiring only a small amount of chopping. You can experiment with the herbs and spices you use too, but I like Dill & Peppercorn as they are the most traditional.

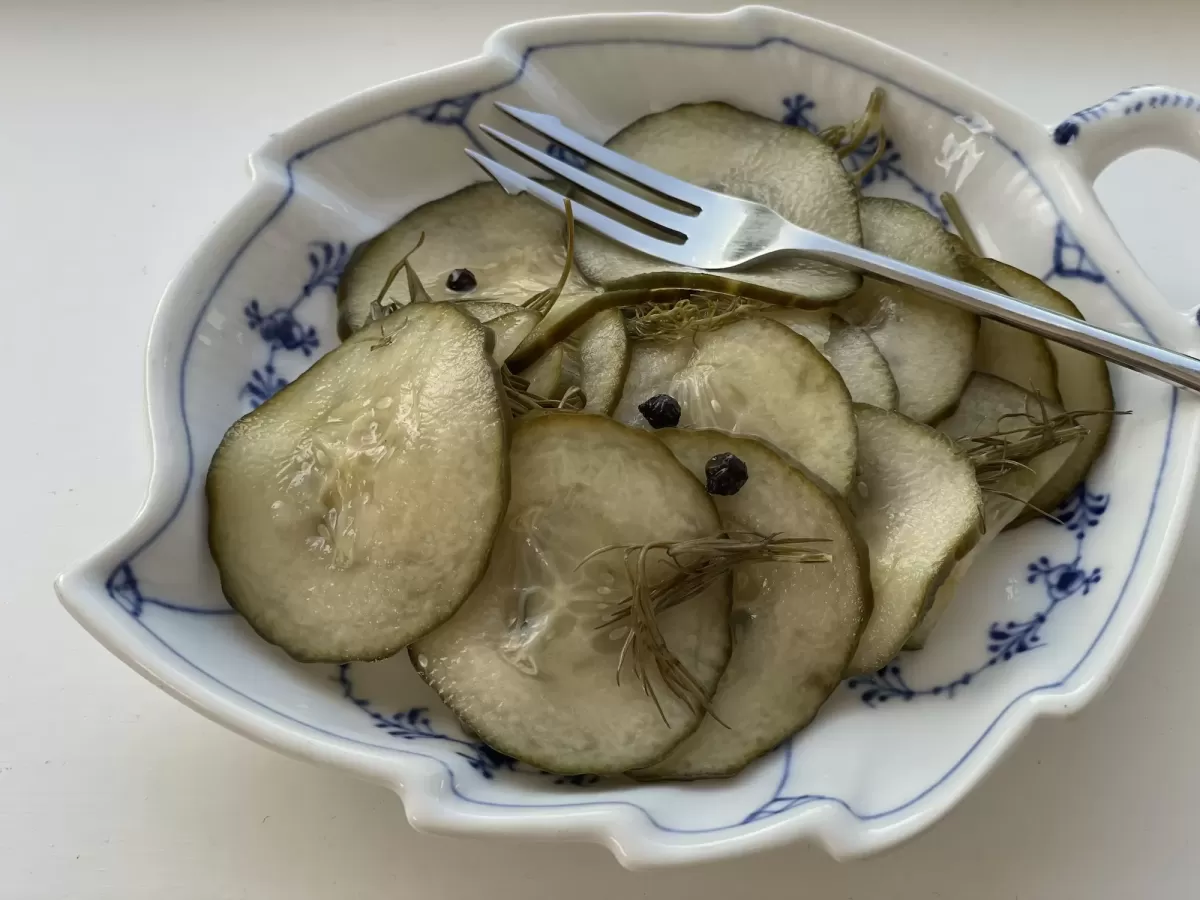
Please note, that as your cucumbers age/pickle they will lose their vibrancy and look a little grey, but it doesn’t affect the taste. In fact I think they taste a bit better after a week or so, but it’s all down to personal preference.
To serve, you can pop the jar straight on the table with a pickle fork, or strain and lay them out on a little plate or condiment dish. They look especially lovely on a blue and white plate a la Royal Copenhagen. *No cucumbers were wasted in the taking of this picture. Yum.
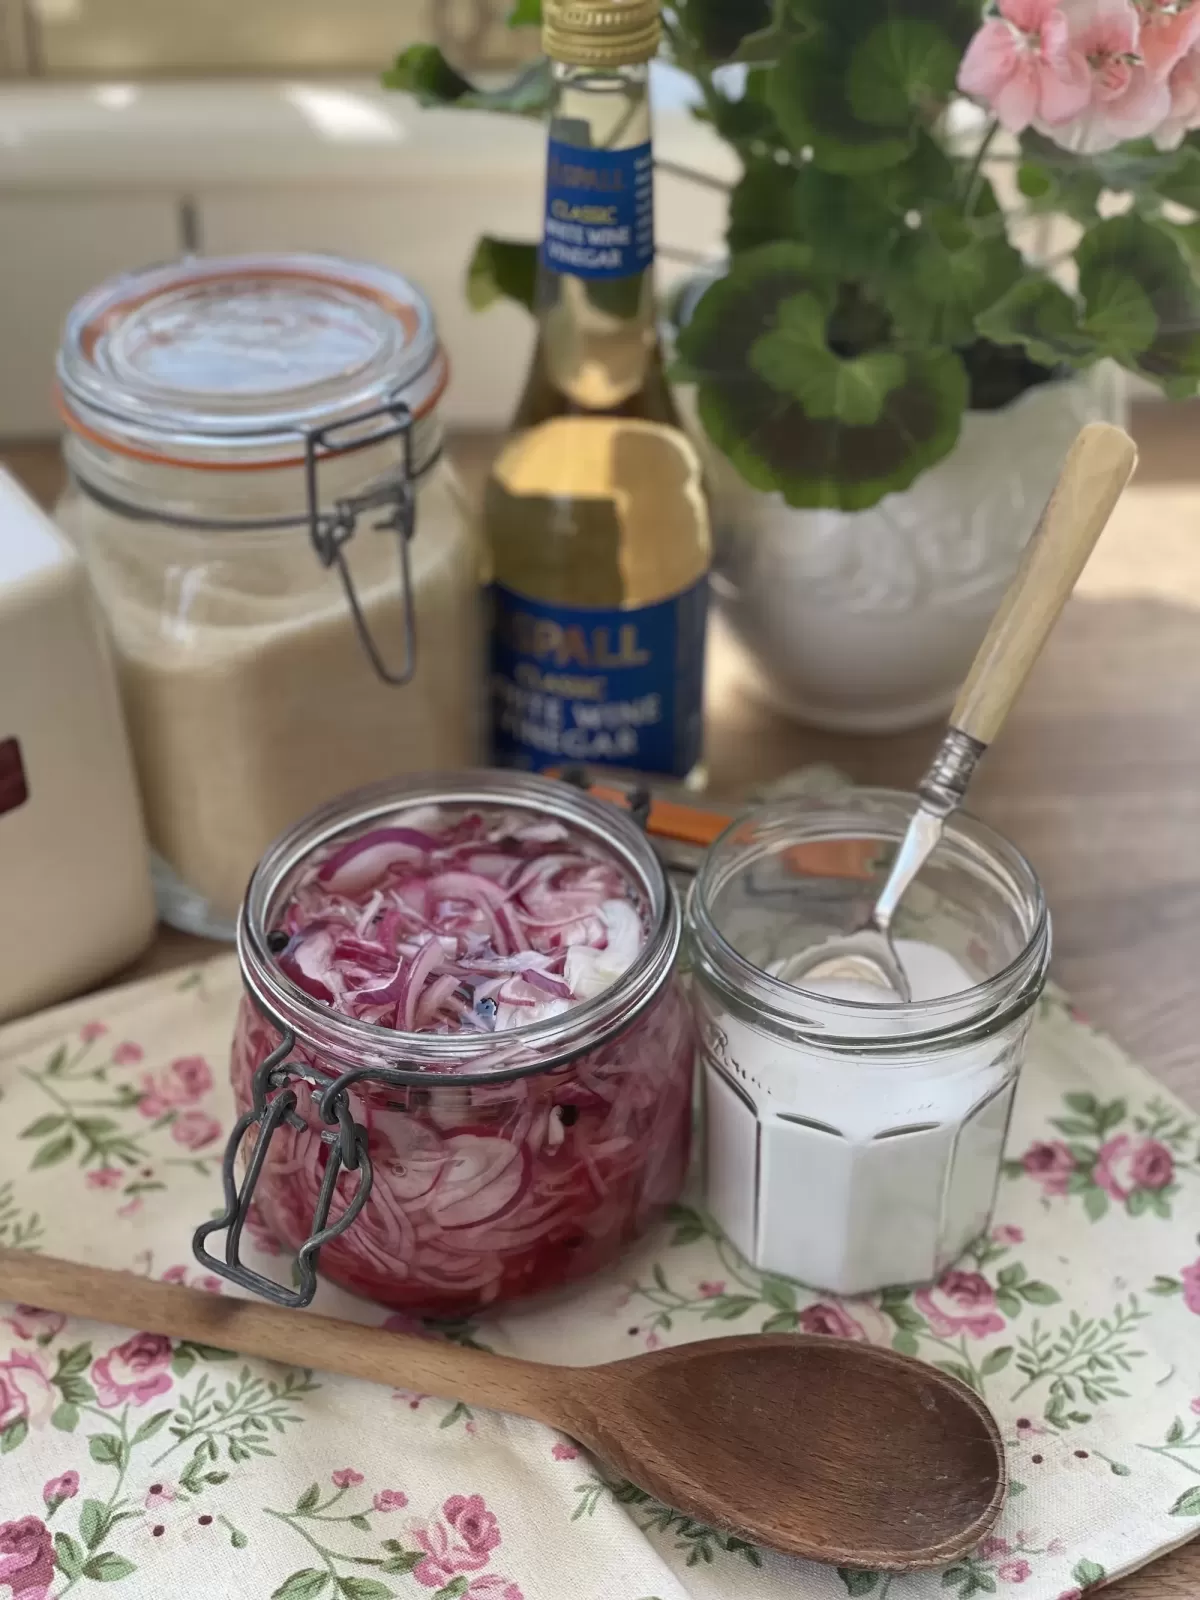
Now, for the onions…
![]()
A quick Pickled Red Onion Recipe
These require slightly more “work” in that you need to heat your brine, but its only to warm it through to dissolve the sugar and salt rather than “boil” it. The slight heat also helps to tenderise, and remove the bitterness of the onions a little faster.
You may also want to wait until the brine has taken on a pinkish hue, and the onions themselves are bright pink before you tuck in - this is a sign that the brine has tenderised the onions and will have taken out that slightly bitter edge. The finished result are still a little bit tangy as well as sweet, with a nice crunch but not “raw”. I hope that makes sense?
This recipe is also to make up a 500g jar.
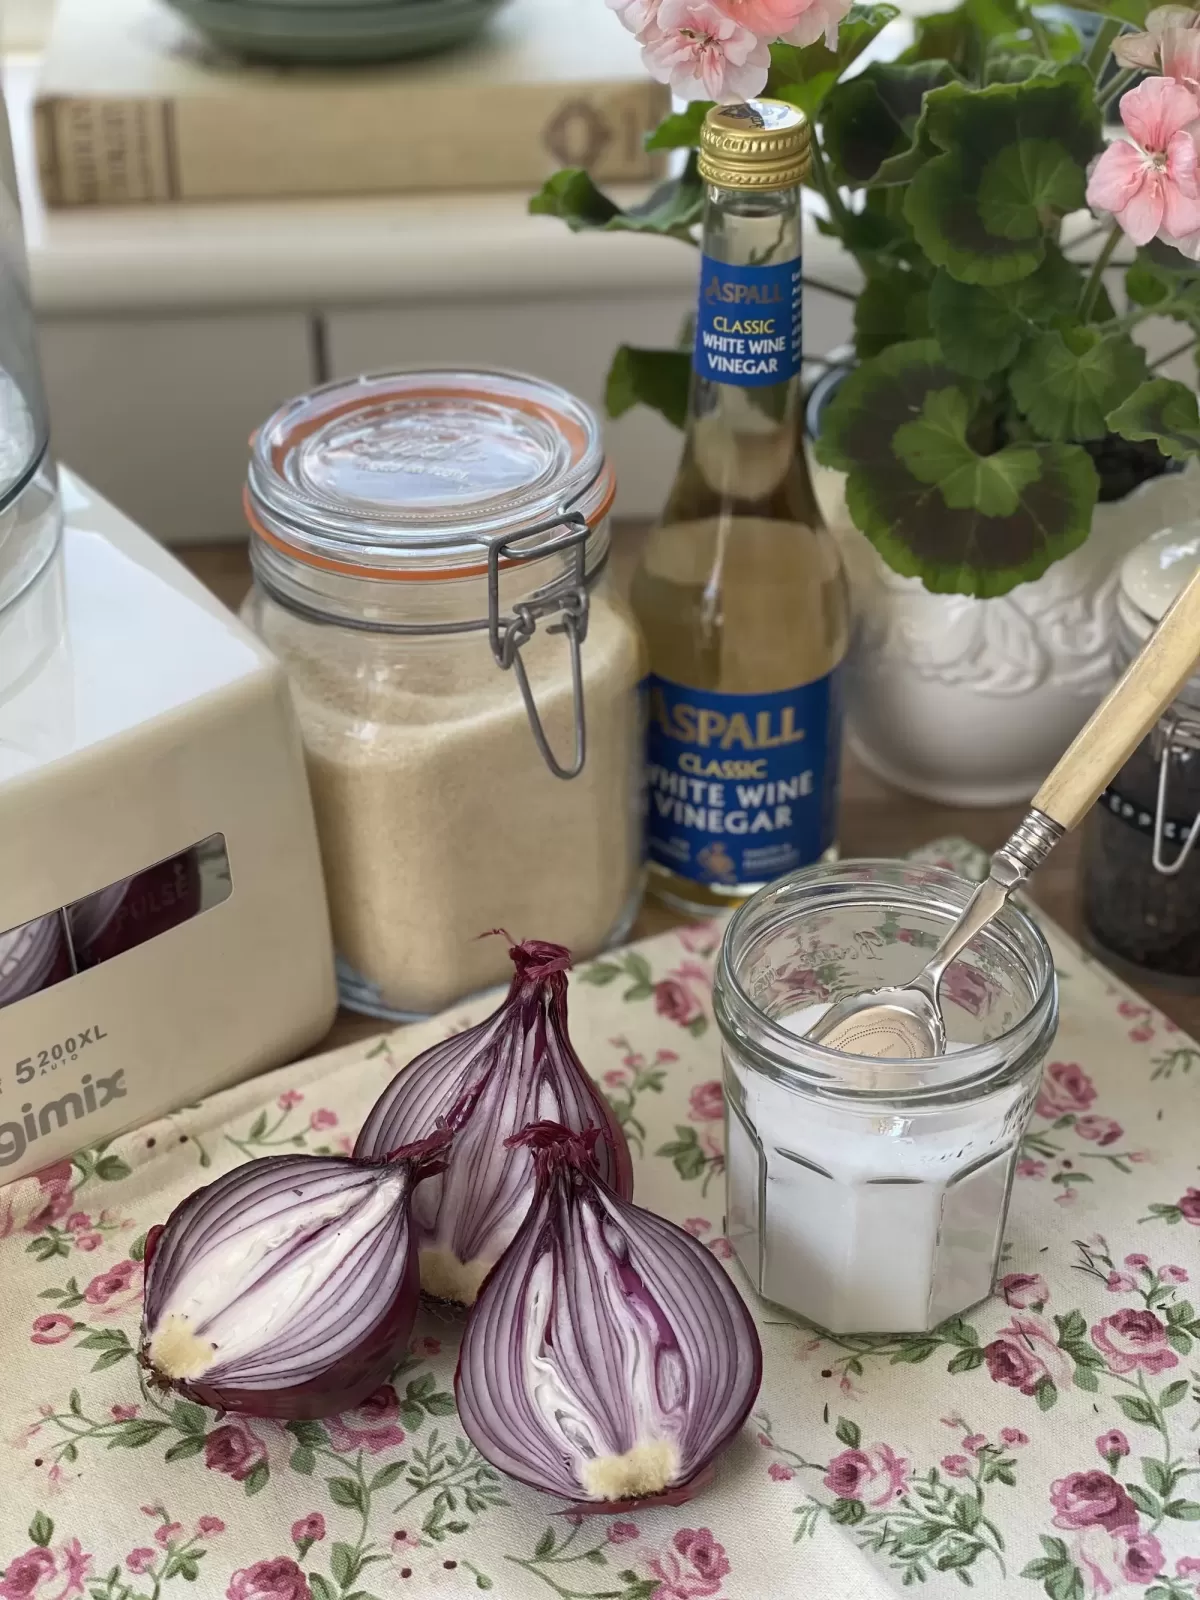
Pickled Red Onion ingredients:
- 2 x small, firm Red Onions.
- 125ml (approx ½ cup) of White Wine Vinegar.
- 125ml (approx ½ cup) of cold Water.
- 1 tbsp Sugar (or Honey if preferred).
- 1 tbsp fine Sea Salt.
- 1 tsp Whole Black Peppercorns.
How to make Pickled Red (Pink) Onions.
- Sterilise the jar. I like to wash them in hot soapy water and keep them filled with hot boiled water from the kettle until I am ready to fill. Take care not to burn yourself when you pour out the water!
- Slice your onions as thinly as possible. I like to use the slicing attachment on its smallest setting on my Magimix, but it is also possible to do this by hand, or using a Mondoline as I have in the past. Just take your time.
- Meanwhile, place the vinegar, water, sugar, and salt into a saucepan and put on a low heat and warm until the salt and sugar are completely dissolved. It should be slightly warmer than blood temperature but not hot.
- Place the onions, with the peppercorns into the jar, and cover with the brine.
- Allow to cool completely before closing the lid and storing until ready.
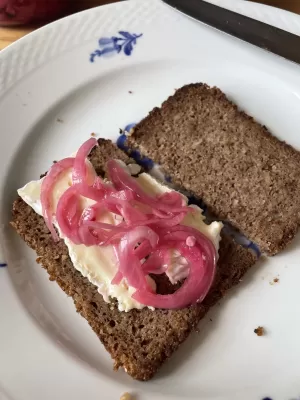 They are really fantastic in salads, as well on burgers, in sandwiches, or go all out Dane and use as a topping for your favourite smörgåsbord.
I find pickles were the easiest method for getting into preserving foods. Jams can be a bit finicky when you begin, depending on pectin content of the fruit, and which direction the wind decides to blow that day, but pickles never fail!
If you haven’t tried them before. I urge you to give it a go. It’s easier than you think. I know from experience that seeing people preserving things and doing things “the old ways” online makes it appear that you have to have some inherent knowledge, but we all start somewhere and have many failures along the way. They just don’t share them! ;)
Pickles are a good first step as the acids will keep botulism at bay until you’re confident enough to tackle other methods.
£4.50)
Kitchen Management Manual
Printable PDF housekeeping handbook
- Meal Planner
- Shopping List
- Recipe Card
- Pantry & Freezer Guides
- Seasonal Food Guides
- Conversion Charts
- FREE BONUS Laundry Tips!
I now have a mountain of laundry to tackle since returning from our holidays… the relaxing seems to be over. I’m happily back to the daily routine that I sorely missed! Would you believe it, I actually missed doing the laundry. Oh the things we take for granted.
With love and pickles,

As always, I would like to extend a huge thank you to our Patrons, your consistent encouragement and kindness is greatly appreciated. There is no obligation to, but if you like The Darling Academy and our content, would you kindly consider supporting the blog by buying a one-off cup of tea?
This article is filed in: General, Vintage & Traditional Recipes
All content and images in this article are copyright of The Darling Academy and are not to be shared or reproduced without our express permission. Affiliate links have been used in this post.

Leave a Comment
This policy contains information about your privacy. By posting, you are declaring that you understand this policy:
This policy is subject to change at any time and without notice.
These terms and conditions contain rules about posting comments. By submitting a comment, you agree with these rules:
Failure to comply with these rules may result in being banned from submitting further comments.
These terms and conditions are subject to change at any time and without notice.
Comments